In the high-end flashlight manufacturing industry, the application of adhesive to sealing grooves is crucial to the product’s lifespan and reliability. Outdoor adventures, industrial maintenance, and underwater operations require flashlights to withstand extreme temperature differences, severe vibrations, and water pressure. Two-component acrylic adhesives (hereinafter referred to as “acrylic”) are the preferred choice for sealing groove filling due to their rapid curing, high strength, and weather resistance. However, to achieve the leap from simply “adhesive” to “durable,” the following three core technologies must be mastered.
I. Three Key Factors for Effective and Durable Adhesion in Flashlight Sealing Grooves
Key Factor 1: Interface Wetting and Surface Energy Matching – Determining Adhesion Strength
Flashlight substrates are mostly aluminum alloy (anodized or hard anodized) or stainless steel. Cutting oil, release agents, or oxides often remain at the bottom of the sealing groove. If the adhesive cannot fully wet the microscopic surface of the substrate, the physical and chemical bonding forces will be significantly reduced.
Technical Solutions:
1. Precise Cleaning and Activation: Before dispensing, plasma cleaning or solvent wiping (such as isopropanol) must be used to remove low surface energy contaminants. For anodized layers, a silane coupling agent primer is recommended to form “molecular bridges” in the oxide film pores, raising the surface energy to above 38 dynes/cm, ensuring that the acrylic adhesive spreads automatically within the groove.
2. Adhesive Surface Tension Control: The viscosity of the two-component adhesive dispensing system must be strictly controlled between 20,000 and 40,000 cps. Range (based on needle diameter). Too high a viscosity makes it difficult to penetrate micron-level thread gaps; too low a viscosity easily leads to pores during high-temperature curing. The dynamic contact angle should be less than 30°, which is the physical basis for achieving “zero-void” filling.
Key Point Two: Curing Stress Release and Toughening System –
Determining Impact Resistance. Flashlights frequently experience thermal shocks ranging from -40°C to +85°C, while also withstanding instantaneous shear forces during drops. Traditional hard and brittle acrylic resins experience internal stress concentration during curing shrinkage, leading to delamination of the sealing interface or fatigue cracking of the aluminum substrate.
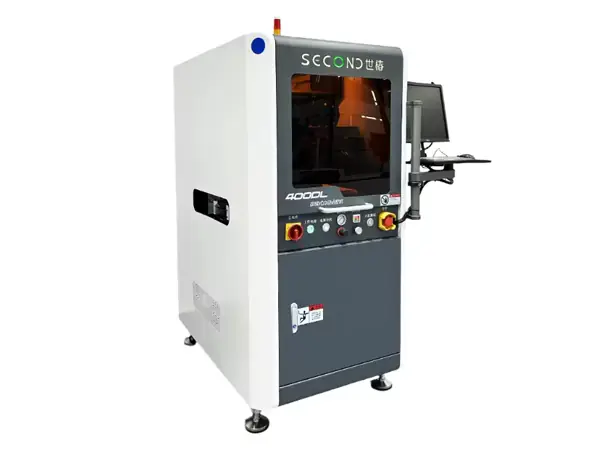
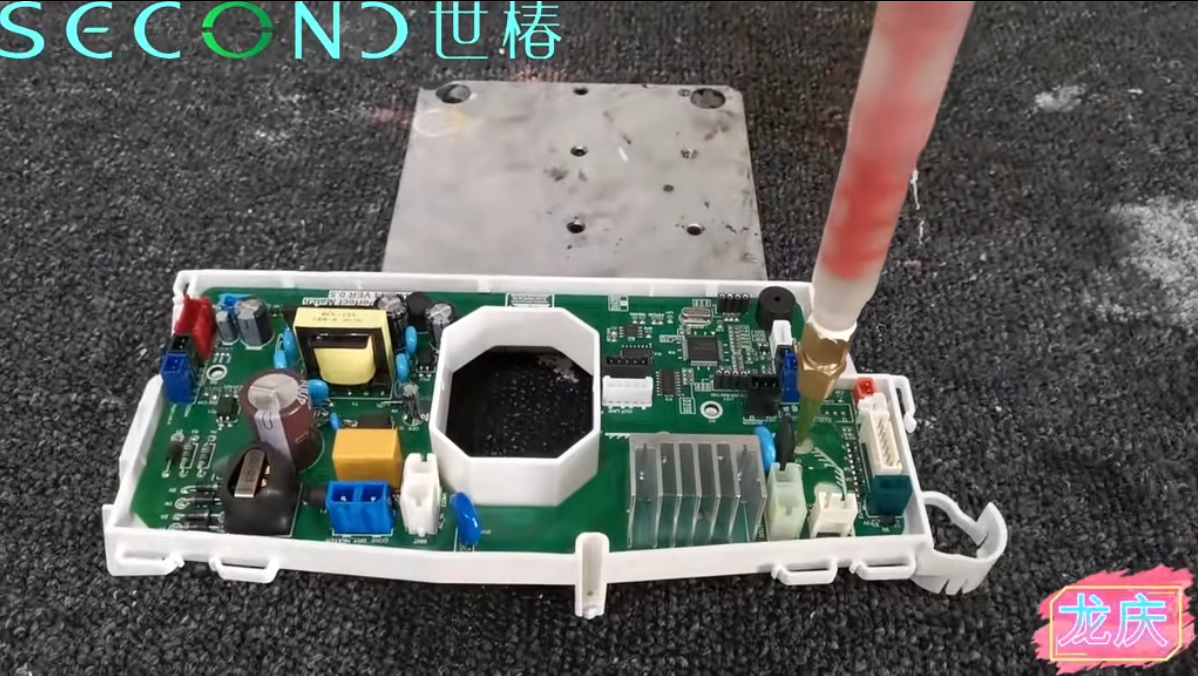
Automatic In-line PCB Glue Dispensing Machine SEC-DH400L
Second Intelligent In-line Automated Glue Dispensing Machine SEC-DH400L adopts an integrated mineral casting design, with ultra-high precision and super stability, powerful expansion capabilities, and can realize ion cleaning, dispensing, detection, UV exposure and other functions;
Adopting a gantry structure, it can bear large loads, stable structure, and a powerful CCD visual positioning system, which can meet the requirements of Mark point positioning, edge positioning, and 3D scanning positioning; strong scalability, and can expand AOI detection 3D detection, UV exposure curing and other functions;
Strong platform compatibility, contact and non-contact dispensing, single-head and multi-head synchronous dispensing, automatic compensation and adjustment of double-head spacing, five-axis dispensing function based on needle A/R displacement, etc.
Technical Countermeasures:
1. Rubber Toughening Modification: Two-component acrylic resins modified with core-shell rubber (CSR) or CTBN liquid nitrile rubber must be selected. This elastic microphase-separated structure absorbs volume change stress during curing shrinkage, maintaining tensile shear strength at 18~25 MPa while increasing elongation at break to 15%~30%.
2. Stepped Curing Process: Avoid one-time “high-temperature rapid baking” curing. A two-stage stepped curing process of 80℃×30min + 120℃×20min is recommended. The lower stage promotes slow movement of prepolymer chains and releases shrinkage stress, while the higher stage maximizes crosslinking density. This stabilizes the glass transition temperature (Tg) at 105℃~120℃, providing both high-temperature resistance and preventing low-temperature embrittlement.
Key Point 3: Long-term Weather Resistance and Barrier Performance –
Determining Durability Flashlight sealant must not only be waterproof, but also resistant to salt spray corrosion, UV radiation (from prolonged exposure to headlamps), and acid and alkali chemical erosion caused by battery leakage. Inferior acrylic resin can experience a strength reduction of over 40% after 500 hours of damp heat aging (double 85 test: 85℃/85%RH).
II. Flashlight Sealing Groove Adhesive Application Process?
Step 1: Pre-treatment (The “Life or Death” Criterion for Bonding Life)
● Cleaning and Degreasing: Use anhydrous ethanol or a dedicated metal cleaner to ultrasonically clean the sealing groove to remove cutting fluid and rust-preventive oil. Never use gasoline or strong alkalis for cleaning, as this will corrode the oxide layer.
● Micro-etching/Activation (Optional): For hard anodized surfaces, it is recommended to apply a thin layer of silane coupling agent primer and bake at 80℃ for 5 minutes. This increases surface energy, allowing for more even adhesive spreading.
● Drying: Dry with a hot air gun (ensuring no solvent residue). The groove must exhibit a “hydrophilic film” state (a continuous, unbroken water film).
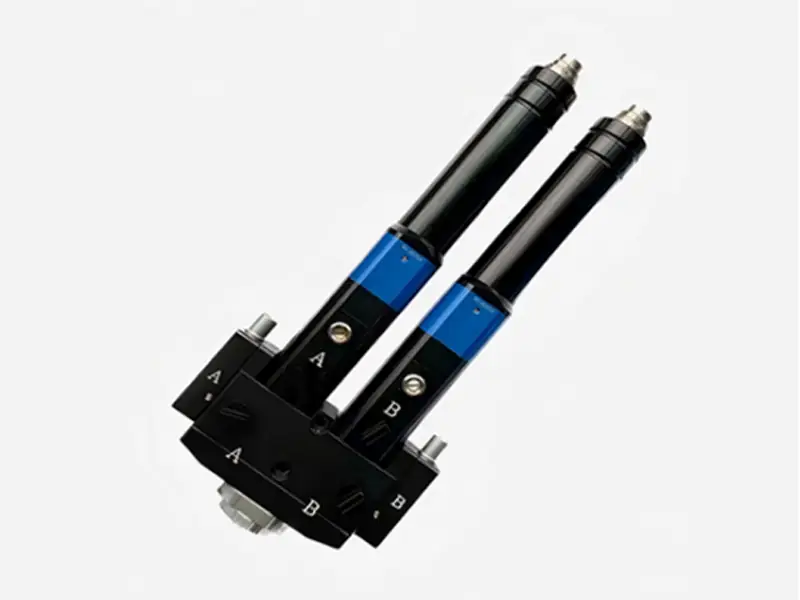
Step 2: Mixing and Adhesive Supply (The “Heart” of the Two-Component System)
The two-component acrylic (A-component resin + B-component curing agent) must be mixed strictly according to the specified ratio.
● Mixing Method: A static mixing tube (with built-in spiral blades) must be used. Never stir manually, as this will trap a large amount of air.
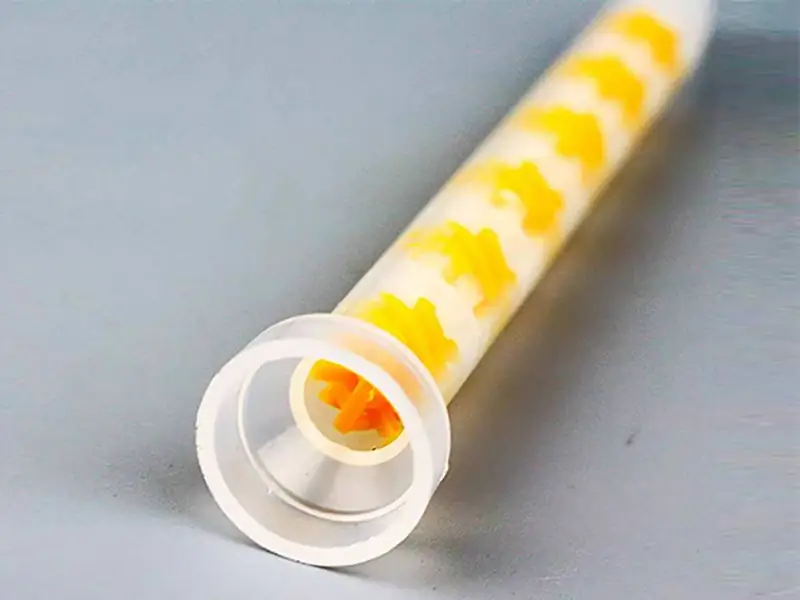
Static Mixing Tube
● Mixing Ratio Control: The volume ratio is typically 1:1 or 10:1 (depending on the brand). A piston-type dispensing valve must be used to ensure pressure fluctuations are controlled within ±1%. Uneven mixing directly leads to localized incomplete curing or stickiness.
● Glue Dispensing: When replacing a new glue tube or mixing tube, first dispense the first 3-5g of glue (this section may be unevenly mixed). Observe that the glue color is completely uniform (no stringing or streaks) before dispensing.
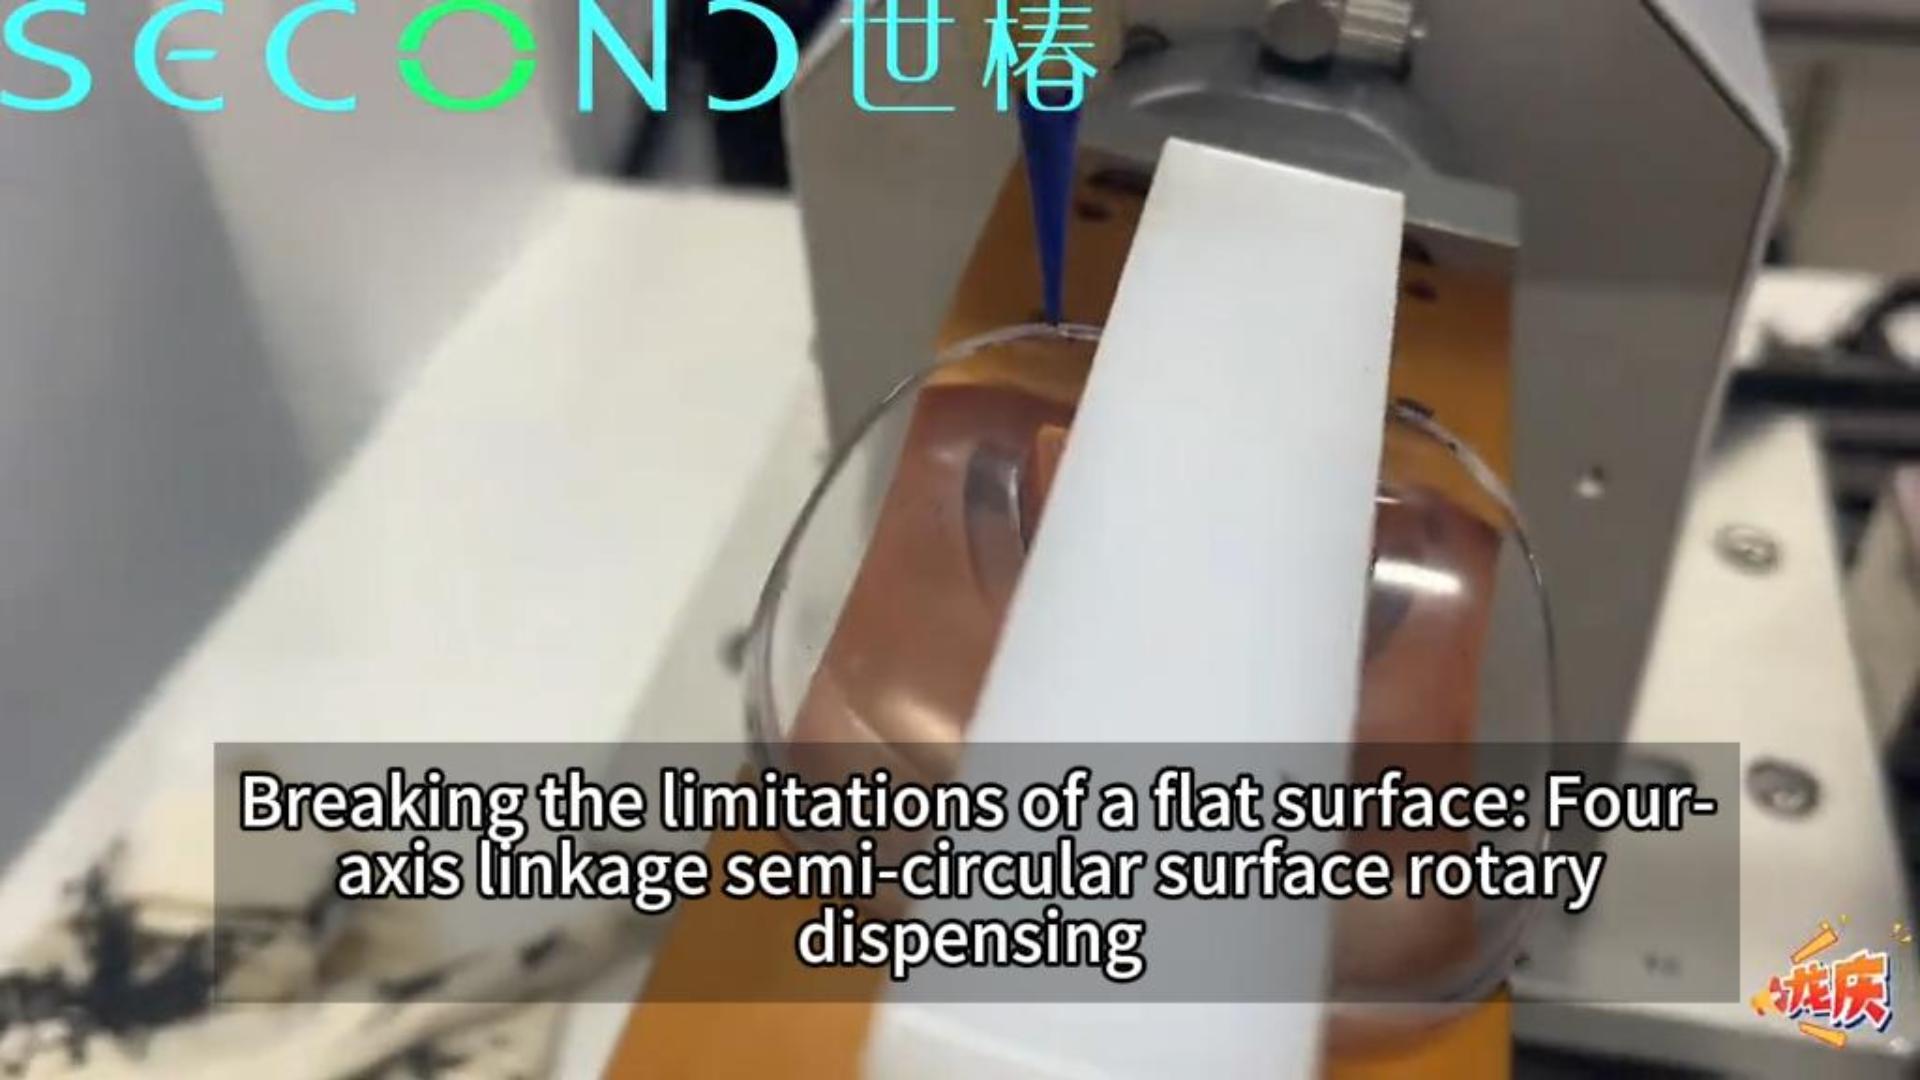
Step 3: Track Dispensing (Core Molding Process)
This is crucial for determining the seal shape and preventing glue overflow.
● Needle Selection:
Groove width 1.0-1.5mm: 21G-23G stainless steel needles (inner diameter approximately 0.5-0.8mm) are recommended.
The needle must maintain a 0.5-0.8mm clearance from the bottom of the groove. Too close a needle results in high resistance; too far a needle makes the glue line prone to deviation.
● Track Programming: The path must move at a constant speed along the center line of the groove. “Deceleration or arc compensation” must be set at corners, as the adhesive will accumulate on the outer side when making right-angle turns.
● Adhesive Line Shape: The adhesive cross-section should be “D” shaped or semi-circular and stacked high. The adhesive should fill exactly 70%~80% of the groove depth (leaving space for overflow during pressing).
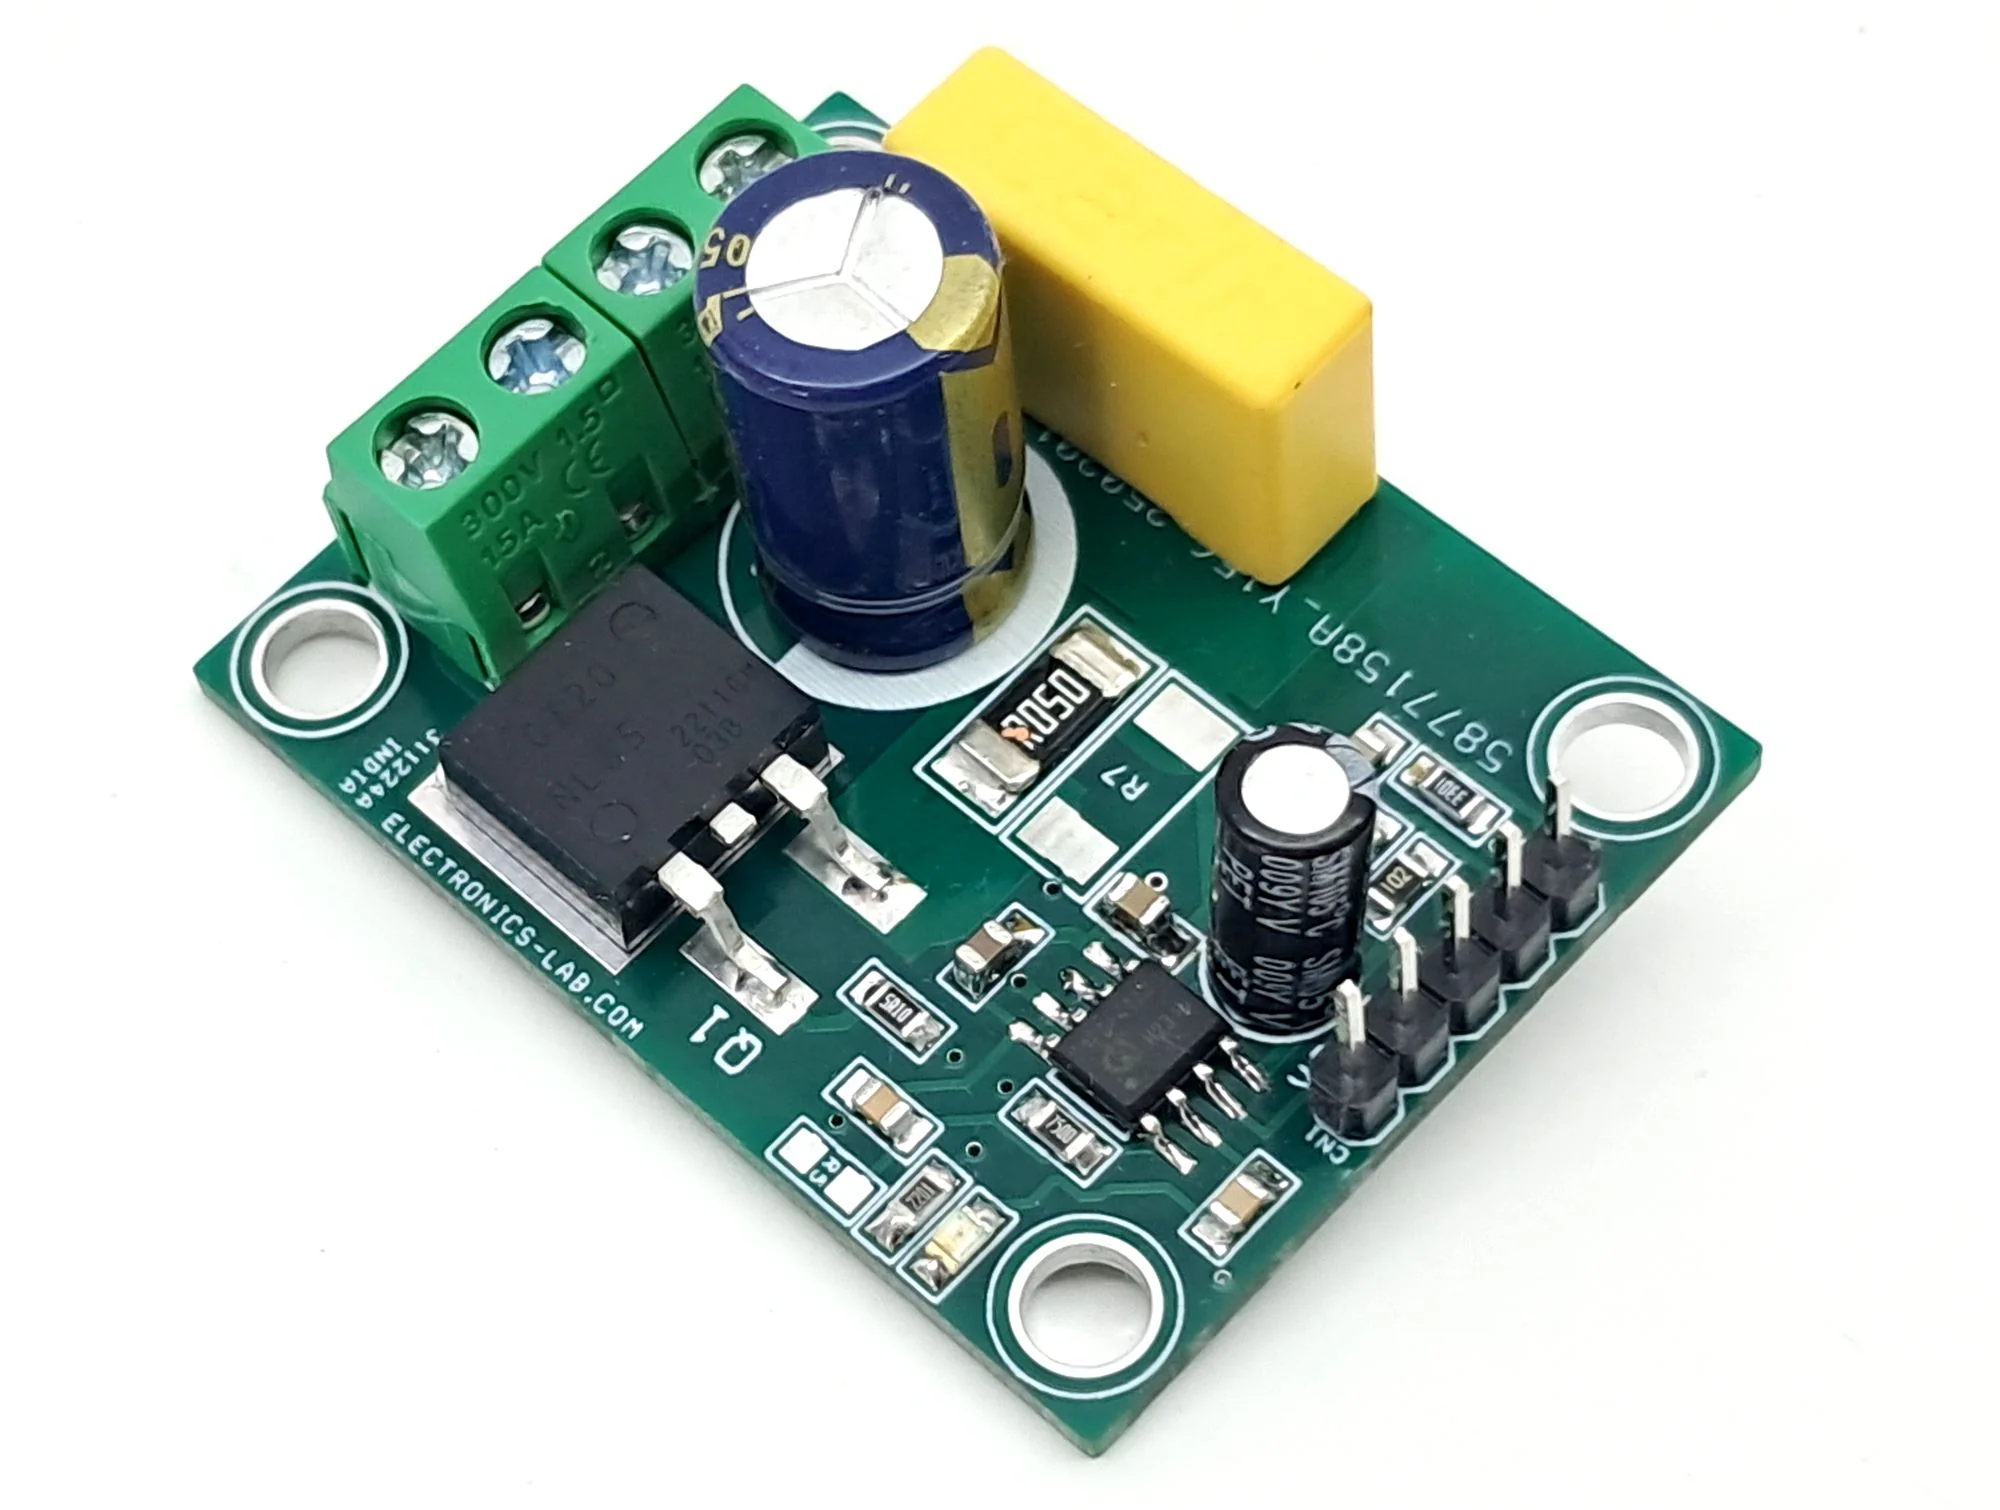
● Air Pressure/Screw Control: Using a Two-component screw valve (volume metering) is better than a time-based air pressure valve, as it avoids adhesive volume fluctuations due to air pressure.
Two-component screw valve
Step 4: Pre-pressing and Holding Pressure (The Secret to Eliminating “Air Bubbles”) After dispensing, do not immediately cover the glass lens or end cap.
● Letting to Remove Bubbles: Let the adhesive stand for 1~3 minutes after dispensing to allow the tiny air bubbles generated by high-speed extrusion to rise and burst naturally.
● Pre-pressing: Place the flashlight housing components (such as the lens ring) into the sealing groove and apply a pre-pressure of 5~10N.
● Pressure Holding Fixture: Use spring clips or quick-release clamps for fixation. At this point, the adhesive is compressed and flows, completely filling the microscopic gaps between the metal and glass. Pressure must be maintained until initial curing (positioning and initial setting); otherwise, the workpiece’s rebound will pull the adhesive out of the gaps.
Step 5: Curing Process (The Thermodynamic Code of “Durability”) Two-component acrylic curing is divided into “initial curing” and “full curing.”
● Room Temperature Initial Curing (Positioning): At 25°C, approximately 15-25 minutes until a non-sticky touch is achieved (the pressure holding fixture can be removed at this point).
● Heated Full Curing (Stress Relief): Stepped curing in an oven is strongly recommended.
Stage 1 (Leveling): 60°C × 20 minutes (allows the adhesive to soften and flow again, eliminating internal stress generated by pressure).
Stage 2 (Cross-linking): 100°C × 30 minutes or 120°C × 20 minutes (completes deep cross-linking, achieving maximum bond strength).
● Note: Do not place directly into a high temperature of 150℃, otherwise the surface will harden too quickly and the expansion of the internal solvent/air will cause “explosion” or micro-cracks.
Conclusion
Applying adhesive to the sealing groove of a flashlight is far more than simply “filling it in.” “Adhesion” requires precise control over surface energy engineering and wetting theory; “durability” relies on the synergistic effect of polymer toughening modification, curing thermodynamics process design, and anti-aging systems. Only by simultaneously controlling these three key aspects—interface matching, stress release, and weather resistance—can every flashlight become a reliable source of light in darkness and dangerous situations.
Second Intelligent has played an important role in theresearch, development, manufacturing, pre-sales and after-sales services of fluid dispensing robot, potting and coating solutions which range from various types of automatic fluid dispensing, potting, two-component potting system and coating machines with desktop, free-standing, inline or cobot combined systems, and widely used in global electrical, electronics, home appliances, automobile, telecom, pharmaceutical, automotive electronics, semiconductor, aerospace, LED and more.