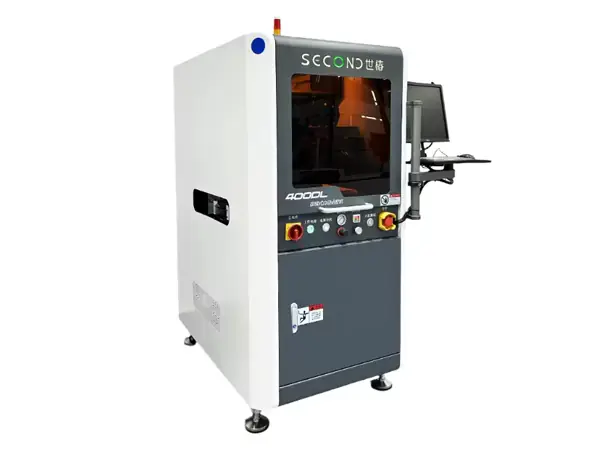
As an Adhesive Dispensing Machine Manufacturer, share with you. Automatic dispensers are widely used in various industries due to their automatic and high-precision performance. How to install Automatic Glue Dispensing Machine after purchase?
Dispenser installation process:
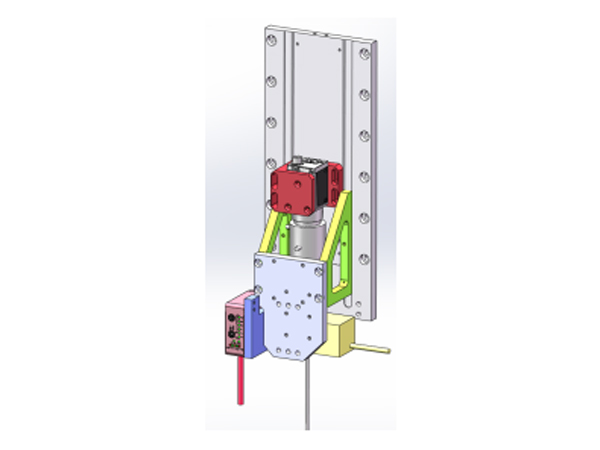
1. First, connect the shaft of the dispenser to the screw hole. When connecting, we must pay attention to the accurate connection of the Z-axis screws and the screw holes on both sides of the X-axis movable block.
2. Then, put the syringe filled with glue into the syringe holder and fix it.
3. After the syringe is placed in the syringe holder and fixed, the air valve can be connected. Connect the AIR OUT port of the dispensing controller to the syringe through the air tube, and connect the syringe valve to the air in of the dispensing controller.
4. Connect the “dispensing” interface of the precision dispenser to the signal input interface of the dispensing controller via a cable. Foot Pedal Connection: Connect the foot pedal to the “running” interface of the dispenser to control the operation of the dispenser. Z-axis cable connection: Connect the Z-axis connection cable plug to the “Z-axis” of the dispenser.
5. It should be noted that the handheld programmer is selected via the serial cable to the interface on the left side of the dispenser. If the dispensing controller used is the same as the connector model of the dispenser, you can see the “dispensing” and “running” ports of the dispenser according to the number of cores in the connector, two-core dispensing, three-core run.
6. If the dispenser controller used is not the same as the connector model on the back of the dispenser, you can prepare and connect the cables according to the instructions of the dispenser controller.
7. Finally, connect the cable between the dispenser and the dispenser controller. Be sure to check the wiring before connecting to avoid damage to the controller. When using, cut off the power of the controller immediately after cutting off the power of the motor, otherwise the excitation coil will be burned. The correct sequence should be to start, turn on the motor first, then turn on the controller. Stop, turn off the controller first, then turn off the motor. Of course, the auxiliary contact of the motor contactor can also be used to make the controller and the motor switch synchronously.
Only after completing the above steps, the installation of the automatic dispenser is successfully completed, so that the automatic dispenser can be better used to complete the production and ensure the production quality. After installation, if you encounter any problems in the operation, you can contact the technical personnel of the dispenser manufacturer for guidance.
Our company also has Freestanding Dispensing Machine for sale, please contact us.